
If you are struggling with hard water in hydroponics, you’ve probably noticed that white, crusty buildup on your net pots, or pH levels that bounce around like a rubber ball no matter how much “pH Down” you add.
The truth is, most city tap water isn’t just H₂O. It’s a cocktail of chlorine, chloramines, and minerals like calcium and magnesium. While these are safe to drink, they can be a nightmare for a delicate hydroponic reservoir. Here is how to fix the “city tap” struggle without breaking the bank.
The “Invisible” Saboteurs: Chlorine and Chloramines
City water treatment plants add chlorine to keep water safe from bacteria. The problem? Chlorine can “burn” the sensitive root hairs of your plants, leading to stunted growth.
Even worse, many cities now use chloramines (a mix of chlorine and ammonia) because they don’t evaporate as easily as standard chlorine. If your roots look slightly brown or “stuck” despite perfect nutrient levels, your tap water might be the culprit.
The pH Seesaw
Hard water is “buffered,” meaning it naturally resists changes in acidity. You might adjust your reservoir down to a perfect 5.8, only to find it back at 7.2 the next morning. This is the classic hard water struggle. The minerals in your pipes are literally fighting your adjustments, forcing you to use more chemicals just to stay in the strike zone.
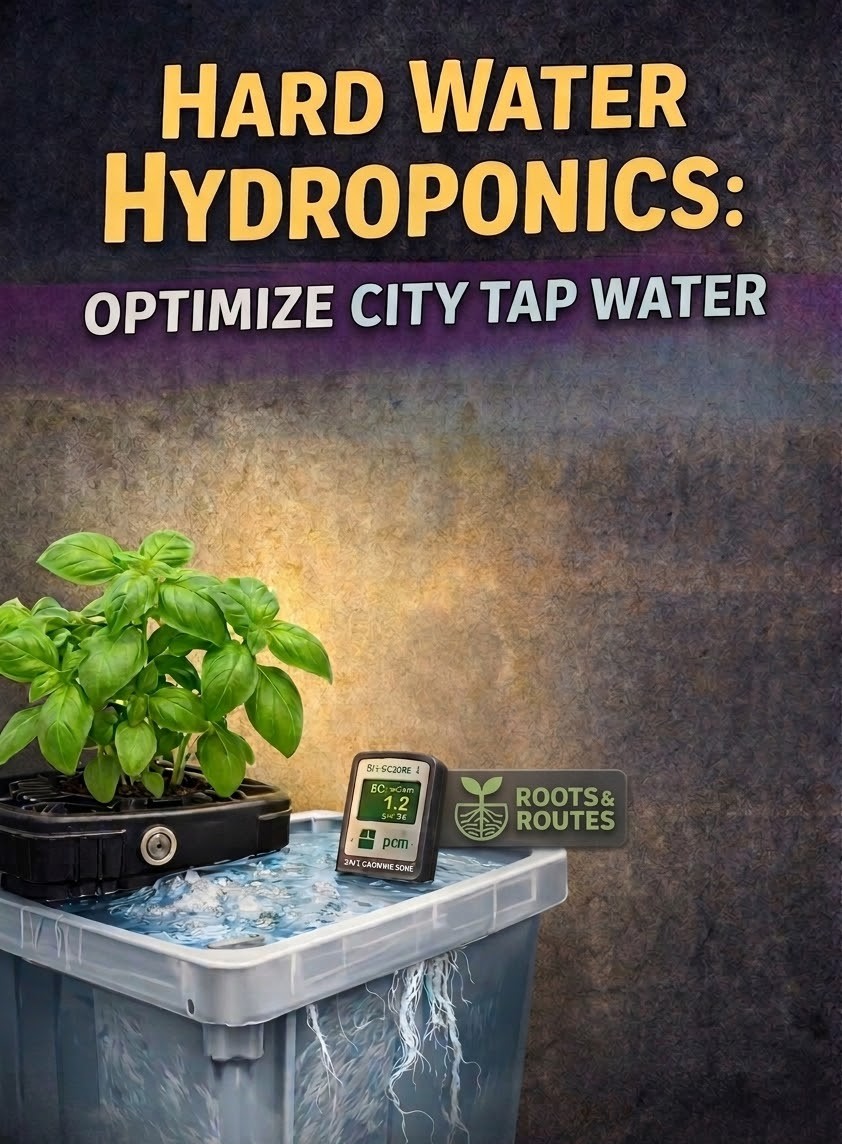
If you’re tired of playing guessing games with your reservoir, you need to know exactly what those numbers mean. Before you adjust another drop, check out Beginner’s Guide to Monitoring Hydroponic Water: pH and PPM Made Simple to get your baseline dialed in.
3 Budget-Friendly Fixes for the Urban Grower
You don’t need an expensive Reverse Osmosis (RO) system to grow great greens. Here is how to handle city water on a budget:
1. The 24-Hour “Off-Gas” Trick
If your city uses standard chlorine, simply fill a 5-gallon bucket and let it sit uncovered for 24 hours. This allows the chlorine to evaporate into the air naturally.
- Pro Tip: Drop an air stone in the bucket to increase aeration and speed this up to about 12 hours.
2. Switch to “Hard Water” Specific Nutrients
Some nutrient brands, such as General Hydroponics, offer a “Hard Water” version of their base nutrients. These formulas are designed with lower calcium levels to account for the minerals already in your tap. This prevents “nutrient lockout” and helps keep your pH from drifting upward.
3. The Inline RV Filter (The “Best Value” Hack)
If you don’t want to wait a full day for water to off-gas, grab an inline RV water filter. They are affordable, screw right onto a standard sink adapter, and are excellent at scrubbing out chlorine and large sediment before the water ever touches your reservoir.
What’s next?
If you’re ready to start your indoor garden but aren’t sure which setup is right for your home, check out our Hydroponic System Selector Tool to see recommended setups for Grow Tents, Vertical Towers, and Tabletop systems.
Don’t Let the Tap Stop You
Every hurdle in indoor gardening has a workaround. You don’t need laboratory grade distilled water to have a thriving harvest; you just need to know what’s in your pipes and how to neutralize it.

